Gaumukh Trek Preparation: A Journey to Conquering the Ganga’s Sacred Source
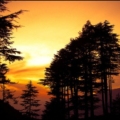
Tucked away in the wild heart of Uttarakhand, the Gaumukh Trek is no ordinary hike. It’s a rugged, soul-shaking adventure to the very spot where the Ganga River is born—a glistening glacier cradled by the Himalayas. I’ve been on my share of trails, and let me tell you, this one’s special. It’s tough, sure, but with the right prep, it’s the kind of journey that leaves you changed. Whether you’re a trekking pro or a newbie with big dreams, here’s how to get ready for the Gaumukh Trek.
Why You Can’t Just Wing It
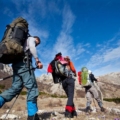
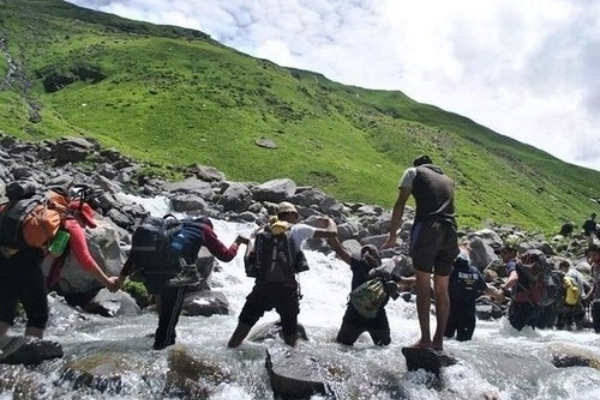
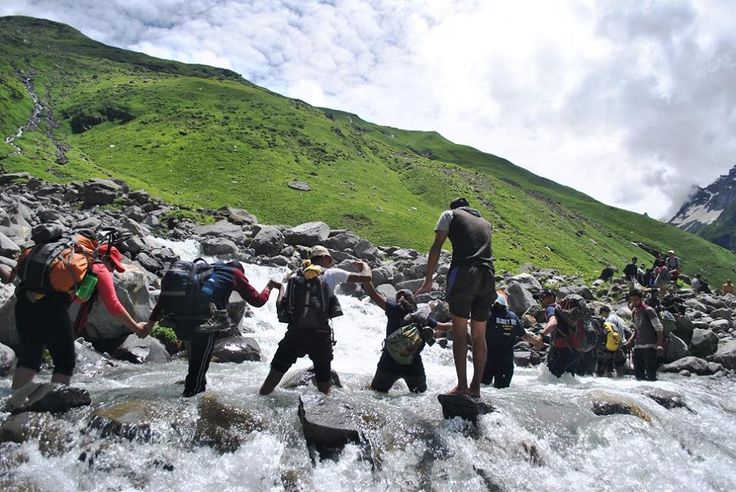
This trek isn’t a walk in the park. You’re climbing past 13,000 feet, where the air feels like it’s playing hard to get. The path throws everything at you—steep slopes, rocky stretches, icy patches, and maybe a river crossing or two. And the weather? It’s like the mountains have a mood swing every hour, from sunny to bone-chilling. Skimp on prep, and you’ll be struggling. Do it right, and you’ll be soaking in the magic of the Himalayas.
Getting Your Body Ready for the Challenge
1. Cardio: Build Your Stamina (Start 6-8 Weeks Out)
If you’re not used to long hikes, start moving now. I started with 4-5 km jogs or brisk walks around my neighborhood, and it made a huge difference. Cycling or swimming is awesome for building lung power—trust me, you’ll need it when the air thins out. And don’t skip the stairs. Climbing them for 20 minutes a day mimics those uphill grinds and toughens your legs.
2. Strength for the Long Haul
You’ll be hauling a backpack over rocky terrain, so strength is non-negotiable. I did squats, lunges, and push-ups three times a week, aiming for three sets each. Planks are gold for core stability—key when you’re balancing on uneven ground. Focus on your legs and back to carry that pack without feeling like you’re lugging a boulder.
3. Stay Flexible to Stay Safe
I learned the hard way that tight muscles and rough trails don’t mix. Add some yoga or basic stretches to your routine. A few minutes of downward dog or leg stretches can save you from a pulled muscle. Plus, it helps with balance when you’re navigating those tricky moraines.
Acclimatizing: Surviving the High Altitude
Going up to 13,000 feet isn’t just a physical challenge—it’s a whole different game for your body. Here’s how to handle it:
1. Take It Slow
The mantra “climb high, sleep low” is your friend. Don’t rush the ascent. Stick to gaining about 500-600 meters a day once you’re above 3,000 meters. It gives your body time to adjust to the altitude.
2. Drink Up (Smartly)
Water is your lifeline—aim for 3-4 liters a day. But don’t chug like it’s a contest; too much can mess with your system. And skip the booze or cigarettes—they’ll only make breathing harder.
3. Eat for Energy
Load up on carbs like rice, oats, or chapatis for steady energy. I packed light snacks like bananas and nuts for the trail. Avoid greasy street food before the trek; it’ll weigh you down.
4. Know the Signs of Trouble
Altitude sickness is real. If you’re hit with headaches, nausea, or feel like you’re moving through molasses, don’t ignore it. Tell your trek leader ASAP. A quick rest or a slight descent can work wonders.
Packing: What to Bring (and What to Leave Behind)
Packing smart makes the trek so much easier. Here’s what I’d stuff in my bag:
- Clothes: Layer up—think woollen thermals, a fleece, and a windproof jacket. Trekking pants are better than jeans; they dry faster.
- Shoes: Get waterproof trekking boots and wear them in beforehand. Blisters at 13,000 feet are no fun.
- Gear: Trekking poles saved my knees on descents. A headlamp is a must for early starts, and a hydration pack makes sipping water easy.
- Medical Stuff: Talk to your doctor about Diamox for altitude sickness. Pack ORS, a basic first-aid kit, and any meds you need.
- Paperwork: Carry your ID, trek permits, and local emergency contacts in a waterproof pouch.
When to Go
Timing matters. I’d pick May-June for clear skies and bearable temps—perfect for soaking in the views. September-October is my other favorite; the trails are lush, and the air’s crisp. Skip the monsoon (July-August)—landslides and slippery paths are a nightmare.
Staying Safe in the Wild
The mountains are stunning but unforgiving. Here’s how to stay safe:
- Go with a certified local guide. They know the trails and can spot trouble before it hits.
- Don’t trek alone. A group or guide is your safety net.
- Share your location with family via an app, if you’ve got signal.
- Respect the place—stick to trails, don’t litter, and honor local customs. Gaumukh is sacred, after all.
A Few Extra Tips from the Trail
- Book a place to crash in Gangotri early. Spots fill up fast.
- Pack snacks like almonds, dried fruit, or glucose powder for quick energy.
- Cell service is spotty, so warn your folks you’ll be off-grid.
- Snow blindness is real—slather on sunscreen and wear good sunglasses.
Why Gaumukh Is Worth Every Step
The Gaumukh Trek isn’t just about reaching the glacier. It’s about standing at the source of a river that’s been sacred for centuries, feeling the crunch of snow under your boots, and finding a kind of quiet that only the Himalayas can give. It’s tough, no doubt, but it’s the kind of challenge that makes you feel alive.
Got Gaumukh on your list, or have you already been? Drop your story in the comments! For more Himalayan adventures, follow Explore Mountains on Instagram and Facebook. Ready to plan your trek? and let’s hit the trails together!
📌 Drop a comment with your thoughts or dreams for this journey.
📌 Follow Destinatinguruji on Instagram and Facebook [@destinationguruji] for more travel stories and real-time updates.
🌐 For more visit my website :- exploremountains.com